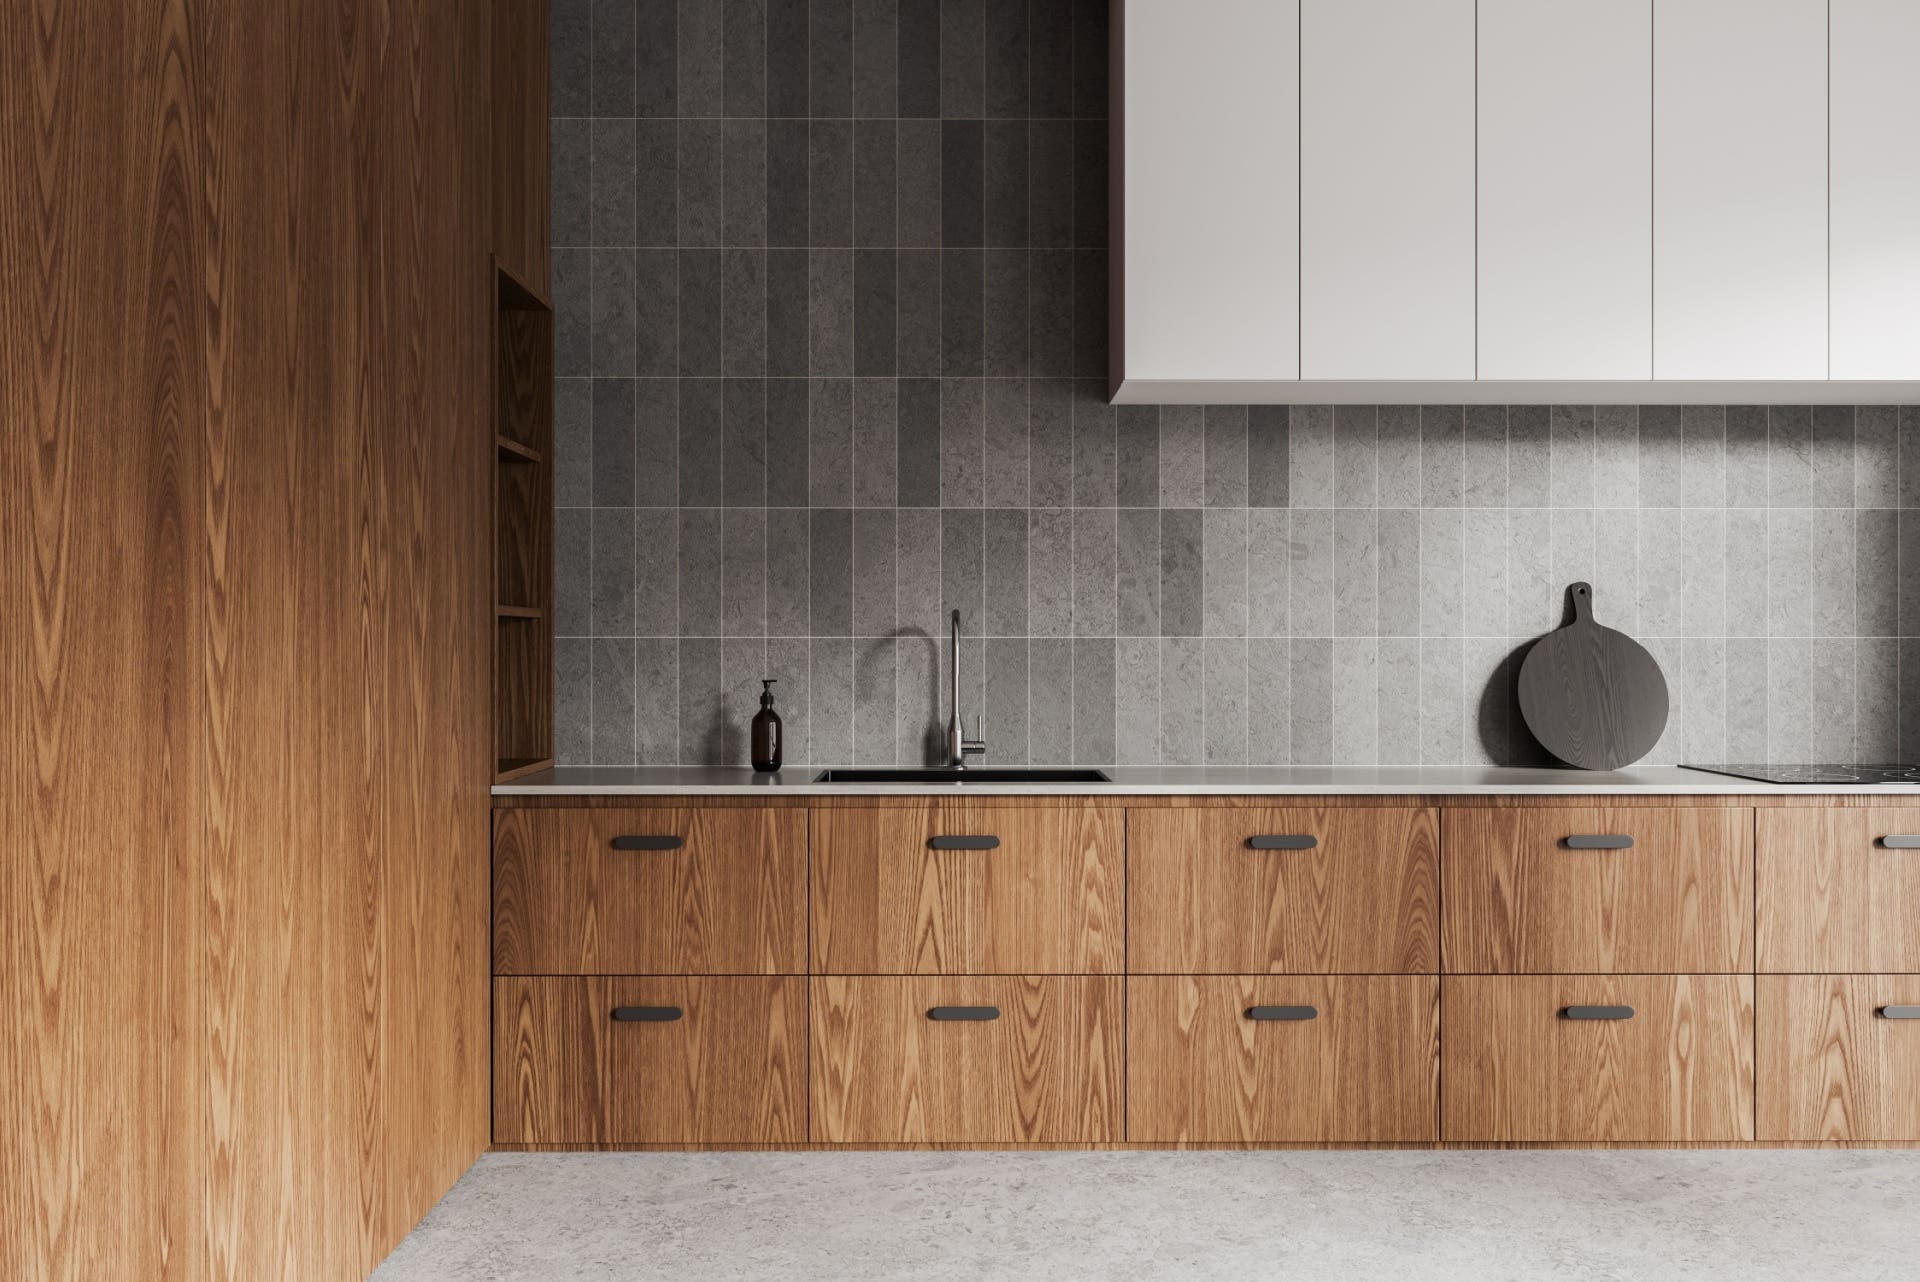
There’s no better way to breathe life into a tired kitchen than with a fresh coat of paint. While, in an ideal world, we’d all have the budget for a full-scale renovation, that’s often not possible (unless you look for approved used or ex-display kitchens!)
Sometimes, all your home needs is a new pop of colour, and painting your cabinets is a cost-effective opportunity. With a couple of paint tins, you can dramatically change the look of your kitchen. But don’t worry: you’ll have plenty of budget left over to invest in other things, like appliances or mixer taps.
Another draw is personalisation. Most people’s interior design preferences change as the years go by, and if you’ve owned your property for a long time without making changes, you may find that the styles you once loved are now dated. Painting kitchen cabinets also gives you total control over their colour and design. Whether you prefer a rosy pink or a calming teal, the choice is ultimately yours.
What tools and materials do you need?
To get started, you’ll need to make sure you have the following items:
- Foam roller
- Angled sash brush
- Tack cloth
- Sanding block/an orbital sander/60-grit sandpaper
- Cabinet paint
- All-surface primer
- Bucket
- Dish soap
- Screwdriver
- Containers and labels (to store hardware/screws)
- Paint tray
- Masking taps


What is the best method for painting kitchen cabinets?
Step 1: Remove all hardware & number doors
While it may be tempting to line up your brushes and paint straight away, slow down! First, you need to take some preparatory measures. Start by removing all the doors from the cabinets and unscrewing any hardware, such as handles, knobs, and hinges. Failure to do this may result in unwanted paint splashes, which can be difficult to remove later. To avoid confusion during the re-screwing process, keep these parts organised in labelled containers that can be stored inside the cabinets while you work.
Next, we recommend numbering each door and drawer to make sure they’re returned to their original position. Count your cabinets from left to right, and lightly sketch the corresponding number in the corner of each door. Doing this step may take a little extra time, but it’ll save you from completing a complex jigsaw puzzle later on!
Step 2: Remove cabinet doors
Now that your hardware is organised and doors labelled, it’s time for removal. It may seem more convenient to just paint the doors as they are: attached by the hinges. However, this method can slow down the process. Plus, you may have to sit or kneel in uncomfortable positions until the job is done, and no cabinets are worth a bad back.
By detaching the doors, you can lay them on a flat surface for painting. You can use a workbench or a set of saw-horses, just remember to cover the surface with a dust sheet to protect the floor below.

Step 3: Clean cabinets, remove grease
Kitchens are inherently greasy places, no matter how clean you are.
Unless wiping down the cabinets is a regular step in your cleaning routine, likely, months or even decades of kitchen grime is currently resting on your surfaces. That’s why preparation is a step of its own. You can’t just tackle the job alongside other tasks, like sanding. Sandpaper, while abrasive, may not be enough to remove tough cooking splatters and blemishes. Doing this could even push the marks deep into the wood.
To clean your cabinets, purchase a multipurpose cleaning agent and follow the manufacturer's instructions. An at-home solution is a bucket filled with warm, soapy water. Use these with a soft cloth or sponge to gently scrub the cabinet surfaces. For more stubborn grease stains, you may want to invest in a stronger degreasing agent. Once applied, rinse the cabinets with clean water and let them dry completely before proceeding to the next steps.
Step 4: Sand cabinets
Did you know that sanding opens up the wood’s ‘pores’? By scuffing up the wood, you’re creating a surface that’s better prepared to absorb primer and paint: a win-win! You can sand by hand, using either a sanding block or 60-grit sandpaper: this is the best method if your cabinets only need light sanding. However, if it’s a bigger job (or you just don’t have the arm strength!), invest in an orbital sander.
Either borrow one from a fellow DIYer or visit your local hardware shop and ask if they have any to rent. Just be sure to wear a sanding mask: this process creates fumes that, if inhaled, can irritate the lungs. Once you’re satisfied, wipe any remaining dust off the cabinet doors using a tack cloth.
Step 5: Paint the nooks and crannies first
Now that you’ve done so much work before the actual painting, a smooth finish is all but guaranteed! However, this step isn’t as simple as applying a blanket coat. If your cabinet doors are indented (which most are), you’ll want to start by painting the nooks and crannies. The corners, edges, and detailed moulding of your cabinets require a more precise approach, which is best achieved using a high-quality brush. Begin by using a small, angled paintbrush to carefully paint the grooves.
Pushing the paint into these areas will help avoid a patchy finish. With this method, you’ll get complete coverage (and won’t need to go back in with the brush at a late date!)
Step 6: Use a roller and apply even pressure
After you’ve allowed these smaller sections of paint to dry, you can now move on to the larger, flat surfaces. A foam roller is ideal for this, as it will create a smooth finish without leaving roller marks.
However, if you’re switching from a brush to a roller, always remember to blend the edges where the two tools meet. This technique is essential for all kinds of cabinets, whether they are shaker-style or flat panels.
Step 7: Apply another coat in 12 hours!
Don’t put your brushes away just yet! Drying times can vary based on the type of paint used and the conditions in your workspace, but a general rule of thumb is to wait around 12 hours before applying a second coat.
With this waiting period, you can prevent smudging, unevenness, or peeling when you apply more layers. Repeat the above process using freshly cleaned brushes or rollers, and take your time applying multiple thin coats.
Step 8: Reinstall cabinets
All the preparation you did earlier is about to pay off! Admire the finished job as you use the containers you labelled earlier to install all doors and hardware back in their original positions. Remember to refer to the numbering system when re-installing the doors! If you’ve decided to upgrade your hardware for a new look, now is the perfect time to attach the pieces. Make sure to use a level or measuring tape to align the handles consistently across all cabinets.
How do I choose the right paint colour?
When you’re the one in charge, there are no rules! However, if you’re not significantly changing other colours in your kitchen, such as the flooring or any accent walls, you’ll need to pick a shade that pairs well with the existing decor.
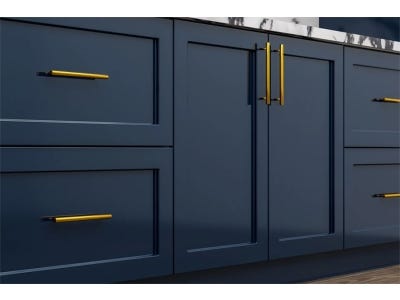
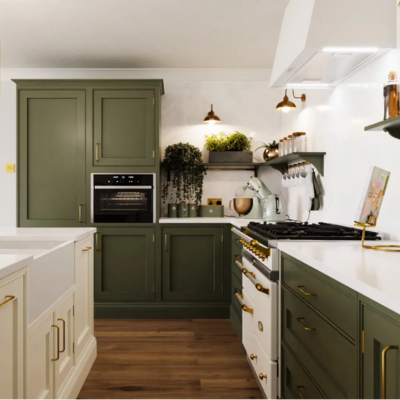
If your main colour scheme is neutral and minimalist, bold and high-contrast shades like black or navy blue can be particularly striking. For a more traditional or rustic kitchen, warmer, earthy tones like olive green, terracotta, or beige can create a cosier feel.
You may also want to think about natural light levels in your kitchen. Those with plenty of well-placed windows can handle lighter and brighter colours, such as whites, soft greys, or pastel shades (which help reflect light).
But if this isn’t the case and your kitchen has lower-than-average light levels, deeper tones can make the space feel claustrophobic. In these situations, choosing lighter alternatives (when balanced with adequate kitchen lighting) can prevent a ‘closed-in’ atmosphere.
How much space do I need for this project?
The more doors you have, the more space is required!
Ideally, you should have a separate space to remove and lay out cabinet doors and drawers while they are being painted and dried. A garage, shed, or garden would be ideal, as these areas often provide better ventilation for working with paint. If these aren’t available, and you must work indoors, we recommend increasing air circulation with fans to speed up drying and reduce paint fumes.

Common mistakes when painting kitchen cupboards
Cutting corners can have a considerable impact on the finished product. All kitchen DIYers should avoid the following mistakes if they don’t want to repeat the painting process only months down the line!
No sanding
Skipping the sanding steps allows the primer and paint to adhere properly. Even if a primer claims to be "no sanding required," sanding will always improve the longevity of the finish. Cabinets, especially those in the kitchen, endure daily wear and tear from heat, grease, and frequent use. Without proper sanding, the paint may chip and peel over time.
Not allowing enough time for drying between coats
Each coat of paint needs adequate time to dry fully before the next one is applied. If not, the layers can mix and cause streaks, smudges, or even peeling. We recommend leaving 12 hours between coats for an even finish that lasts the long haul.
Rushing the job
Every good DIY job takes time, and painting kitchen cabinets isn’t a quick project you can complete in a weekend. You need to plan and prepare, gather the right tools, and make sure you have adequate space for the job. Instead of trying to get everything done in one day, break the project down into our eight manageable steps.

FAQs
Can I really paint kitchen cabinets myself?
Yes! With the right tools and know-how, a professional finish is more than achievable. Just make sure you follow each step of our painting kitchen guide and use the highest-quality (yet budget-conscious) products possible.
Do you need to sand cabinets before painting?
For a long-lasting, professional-grade finish, sanding your cabinets is a non-negotiable. Completing this step will allow the primer and paint to adhere to the wood. Omitting this step will lead to issues like chipping and peeling.
Can I just paint over my kitchen cabinets?
Without cleaning or sanding? While you can, you absolutely shouldn’t: doing so can lead to disappointing results. You’ll waste money on your chosen paint (which will eventually chip or peel) and time preparing the tools, only to have to repeat the process!
Purchase an ex-display kitchen with Rehome!
Painting kitchen cabinets is an affordable way to make your house feel more like home.
They’re particularly great for when you want that luxury renovation feel without the high price. But with Rehome, there’s another way. We help homeowners achieve their goals of a new kitchen with our heavily reduced, ex-display luxury brands.
We’ve got shaker kitchens from Masterclass and Edwin Loxley, modern kitchens from Keller and even small kitchens for cosy homes! With our products, you can save hundreds, if not thousands of pounds compared to high-street prices.


