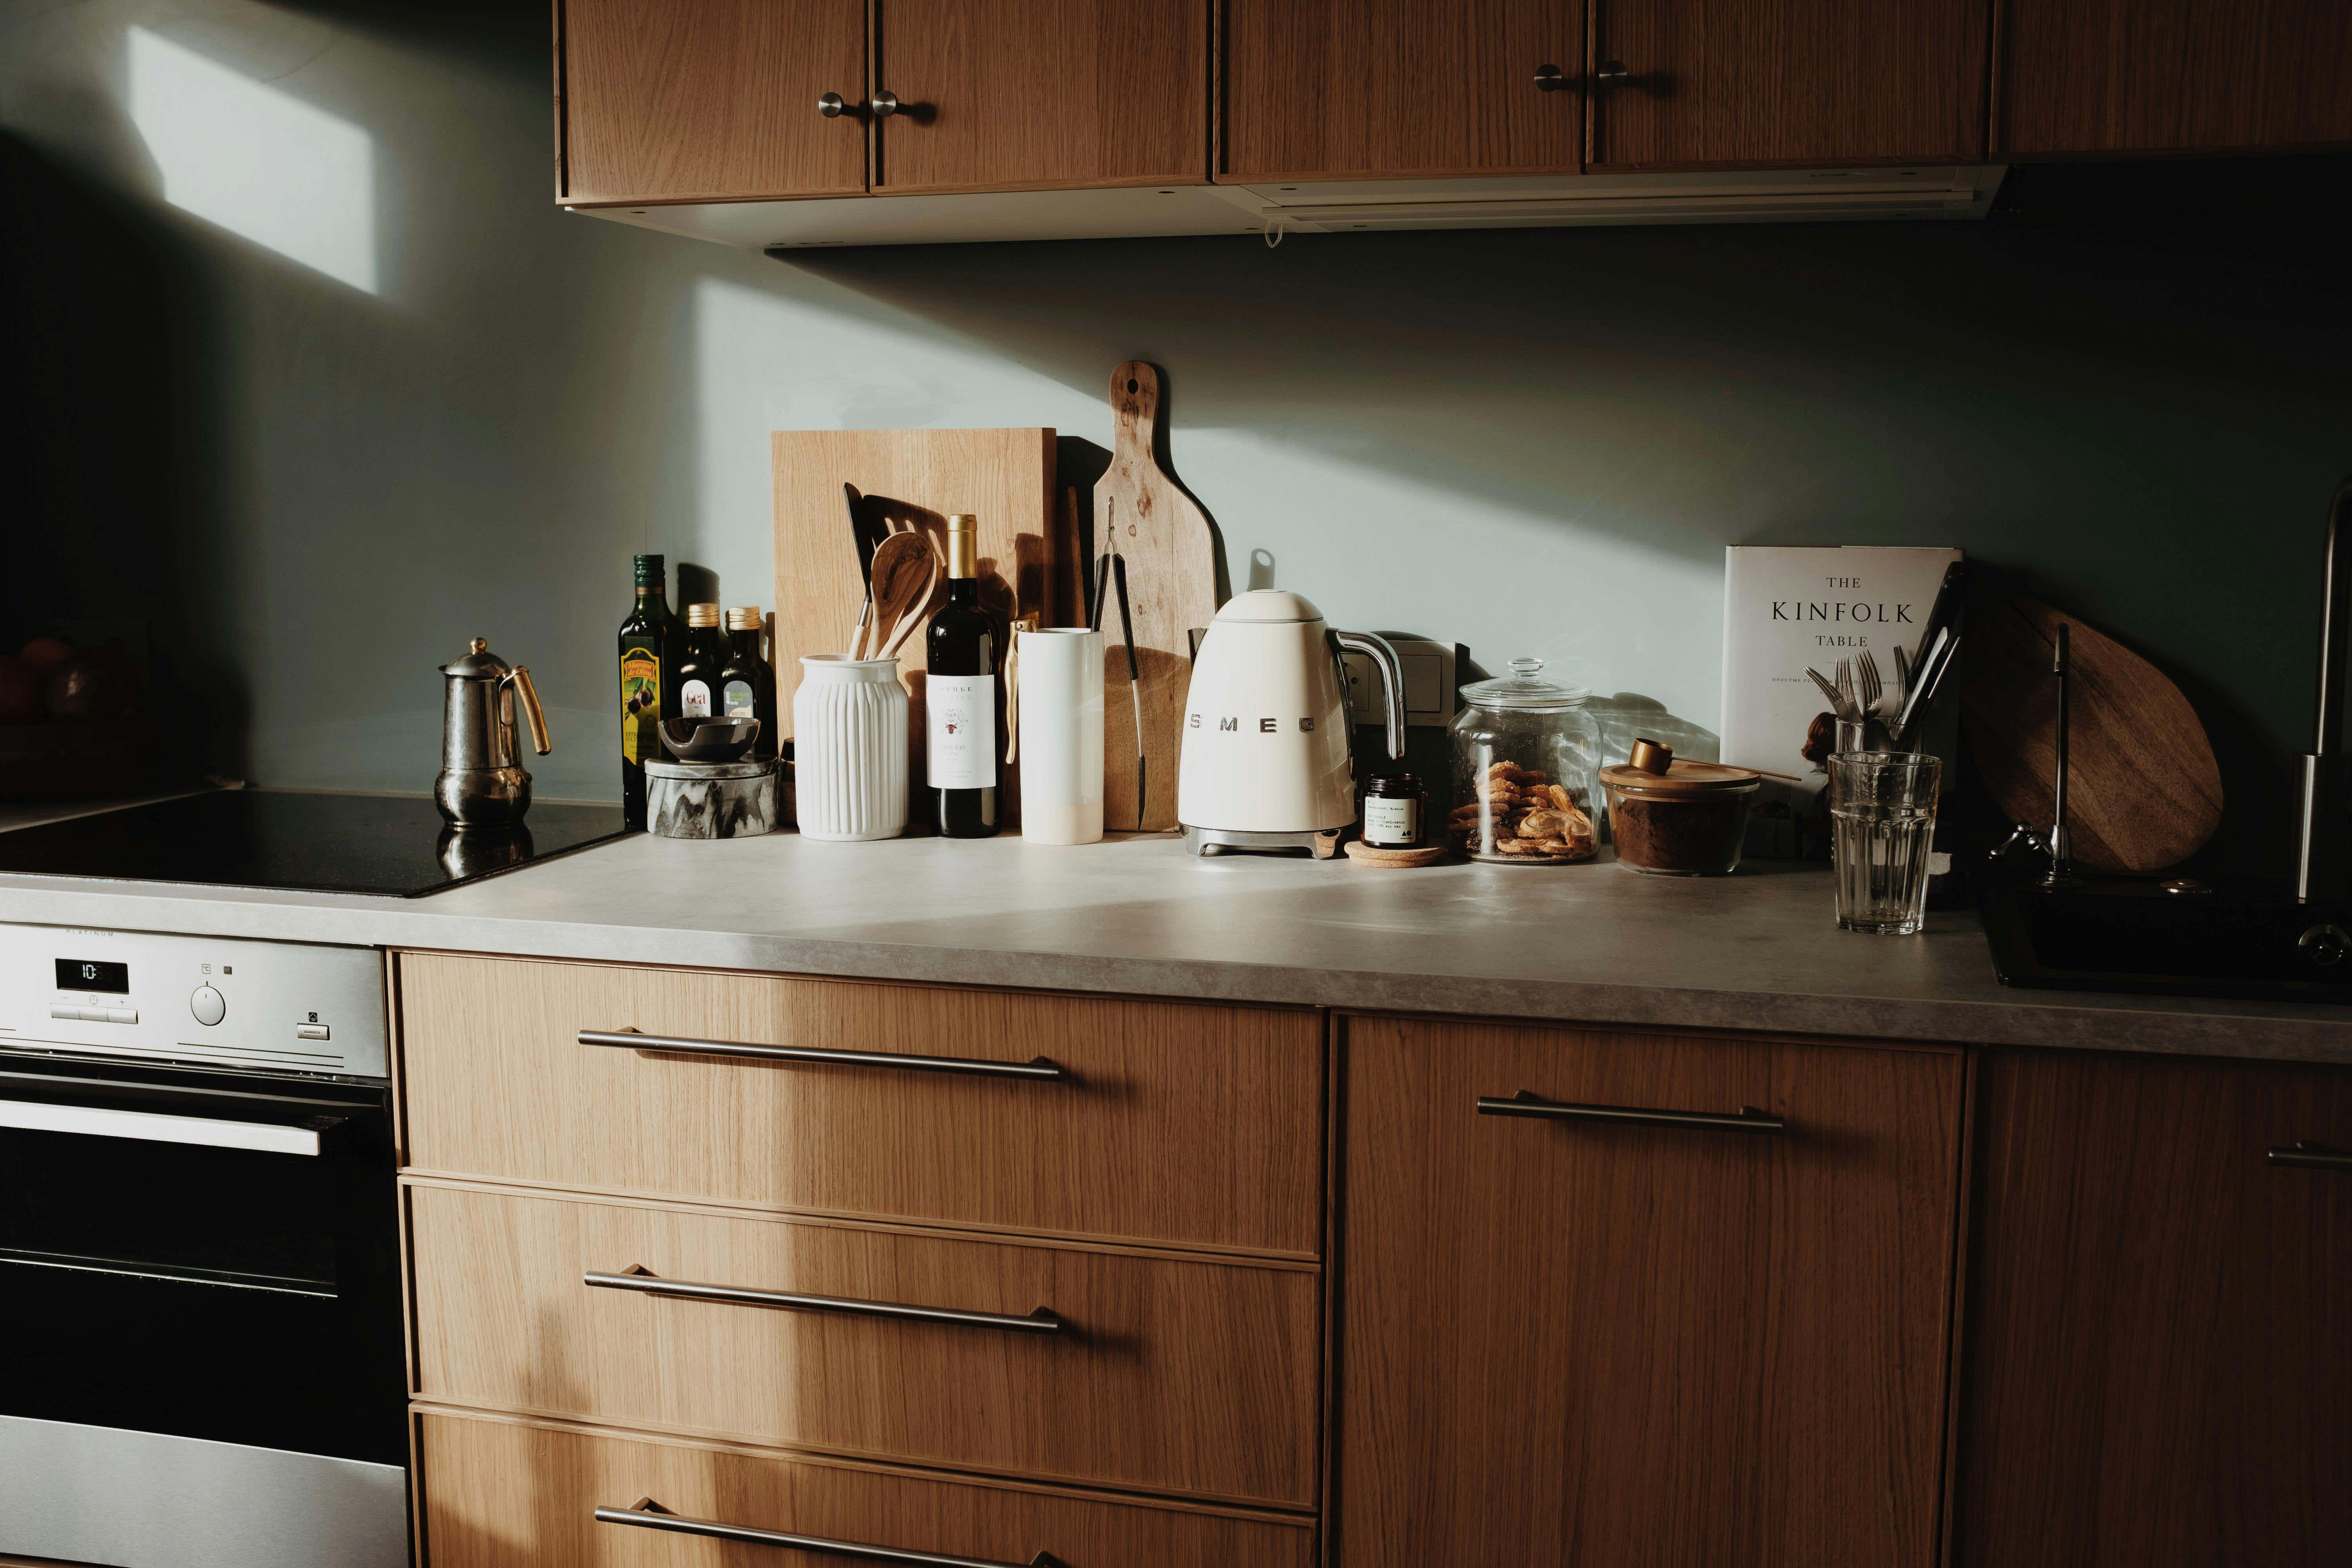
What many homeowners fail to recognise is that a kitchen overhaul doesn’t have to cost thousands of pounds. Potentially, not even hundreds. With the right amount of elbow grease, you can turn your tired kitchen into a space you actually want to spend time in. But how?
Worktops are a great place to start. The main surface area of any kitchen, they’re where you keep appliances, prepare food, and boil the kettle for your morning cup of coffee.
But if your worktops are due a much-needed update, you may wonder, 'How can I improve them without replacing all of my cabinetry?’ The UK’s number one Kitchen, Bedroom, Bathroom outlet is here with our top six affordable solutions.
From quick vinyl covers to premium stone overlays, these ideas combine DIY and design to help you live in possible.
Use vinyl wrap/contact paper
Also known as ‘sticky-back’ to UK shoppers, vinyl wrap is a self-adhesive film that you can stick over your existing worktop.
Vinyl films come in a huge range of colours and patterns (marble, wood grain, granite effect, etc.), so you can create a custom look without physical (and often very expensive) materials.
Plus, their affordable, minimally invasive nature is particularly beneficial for renters or those on a budget.
Tools and materials
- Self-adhesive vinyl
- Tape measurer
- Pencil
- Scissors
- Hair dryer
- Craft knife
- Cleaning supplies (sponge, washing-up liquid/sugar soap)
- Plastic smoother (a squeegee)
- Silicone sealant
Process
The vinyl wrap won’t adhere properly if your counters are covered in grime, dirt and dust from meals gone by! So, start by clearing and scrubbing the worktop thoroughly.
Measure your worktop and cut the vinyl a few centimetres larger than needed on each side (remember, it’s easier to trim excess later than to patch gaps).
Peel back a small section of the backing and begin applying the vinyl to one end of the counter. Work slowly and smoothly, peeling the backing as you go and pressing the vinyl down with the smoother to avoid bubbles.
If you don’t get it right the first time, don't worry – the vinyl can be lifted and repositioned. For excess edges or corners, warm the vinyl with a hairdryer to make it pliable, wrap it around, and trim with a sharp knife.
Paint!
One of the more labour-intensive tips on our list, homeowners can also paint their kitchen worktops. This method works brilliantly for laminate or wood worktops (and even tiled ones), basically, any surface that can be sanded and primed.
We wouldn’t recommend tackling a paint job if you’re lucky enough to have solid stone worktops like granite or quartz.
Tools and materials
- Sandpaper: medium grit (120), fine grit (240) for smoothing
- Painter’s tape
- Drop cloths/newspaper
- Bonding primer
- Worktop paint/enamel/acrylic paint
- Clear topcoat/sealant
- Dust mask/goggles
Process
For painting, thorough preparation will make the end result much better.
So, begin by masking off all the areas around the worktop that you don’t want painted: edges where it meets a wall or tile splashback, around sinks or hobs (better yet, remove the sink or hob temporarily if possible), and cover cabinets and floors.
Next, clean the worktop thoroughly with a degreaser and let it dry. If the surface is glossy (typical with laminates), lightly sand the worktop to scuff up the finish: this helps the primer and paint bond.
Use medium-grit sandpaper to remove the surface's sheen, then fine-grit to smooth it out. Wipe away all dust and apply a coat of primer suitable for your surface.
Now, time for the fun part! Stir the paint well, then use a brush to cut in along edges and corners, and a foam roller for large flat areas to minimise brush marks. Apply paint in thin, even coats. It’s better to do two or three thin coats than one thick one.
After the final coat of colour, let it dry as directed, then apply a clear sealant or topcoat if recommended.
Tint (wooden worktops)
Do you have wooden worktops? You may even have a butcher's block made of beech, oak, or walnut. So, even though painting or tiling isn’t your best bet, you can always use a tint! Tinting means changing or enhancing the colour of the wood by using wood stains, dyes, or tinted oils. Unlike painting, which covers the wood, tinting penetrates the surface and gives it a new tone.
The main goal? To keep the organic beauty of wood, but tailor the colour to fit your vision.
Tools and materials
- Sandpaper (or an electric sander for larger areas)
- Wood stain/tinted hardwax oil
- Clean cloth
- Brush/foam applicator
- Clear topcoat
- Mask
Process
Again, preparation is key. If your worktop has an existing finish (like a lacquer, varnish, or even grimy old oil), you’ll need to remove it to get an even colour.
Sand the worktop down to bare wood or as close to bare as possible. Begin with a coarse grit (80–120) to strip off the old varnish or heavily stained areas, then use finer grits (180–240) to smooth out the surface.
Once sanded, vacuum thoroughly and wipe the surface with a damp cloth to pick up residual dust (let it dry fully afterward).
Now it’s time to apply your tint. If using a wood stain or dye, stir it well and test the colour on an off-cut or an inconspicuous area, as wood species take stain differently. Apply the stain evenly with a brush or cloth, going with the grain.
After tinting, you will likely seal the wood if the tint wasn’t a 2-in-1 sealer. For standard stains, once the colour is the way you like and fully dry, apply a clear worktop oil as a topcoat.
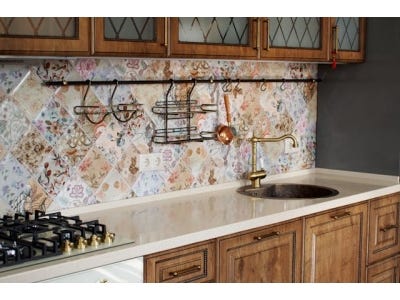
Porcelain tiles
Lovers of retro kitchens should be intrigued by our next option.
Porcelain tile overlays involve covering your existing worktop with durable tiles to create a brand-new surface. Much like a backsplash or floor, this is a clever upcycle if your current worktop is structurally sound but aesthetically past its prime.
Porcelain tile overlays are a more permanent, solid upgrade, unlike adhesive vinyl or paint, which will eventually need to be replaced. It’s a great option for DIYers of a medium skill level (and budget).
Tools and materials
- Tiles
- Tile adhesives
- Grout
- Tile spacers
- Notched trowel
- Tile cutter/wet saw
- Tile trim pieces
- Tape measure
- Spirit level
Process
Many DIYers successfully tile directly over a laminate worktop, as long as it’s flat, secure, and well-sanded for good adhesion. Plan your tile layout by doing a dry run: lay out your tiles on the counter without adhesive.
Start from the centre and work outwards to see how the tiles will fall at the edges. In an ideal world, you won’t have a tiny sliver of tile at an edge, so adjust the layout to get reasonable-sized cuts on both sides.
Mark any cuts for the sink/hob cut-outs as well; you may need to cut tiles to fit around those openings (or if using large tiles, cut a hole out). When ready to install, spread tile adhesive on the surface with your notched trowel, working in small sections.
You can make sure the tiles are level with each other by gently tapping them with a rubber mallet. Continue tiling until the whole surface (and any front edges, if you choose to tile those) is covered.
After the adhesive has cured (usually 24 hours), it’s time to grout. If possible, choose an epoxy or resin-based grout, as it will be stain-proof and non-absorbent – exactly what you want for kitchen worktops!

Quartz
Now, for arguably the most premium tip on our list, quartz overlays. These are essentially thin slabs of engineered stone (granite, quartz, or recycled glass) custom-made to fit over your existing worktop.
They are fabricated to the exact dimensions of your counters, and then bonded on top of your current worktops using special adhesives. The result? A completely new surface of real stone!
Tools and materials
Frankly, unless you’ve completed a quartz overlay installation before, you shouldn’t attempt one. You need help from a professional! Particularly when it comes to sourcing materials.
A quartz overlay requires custom-measured quartz overlay sheets, something you can’t buy in a DIY shop. Plus, they’re definitely at the premium end of the upcycling budget. But at the end of the day, they’re still cheaper than a full kitchen re-work!
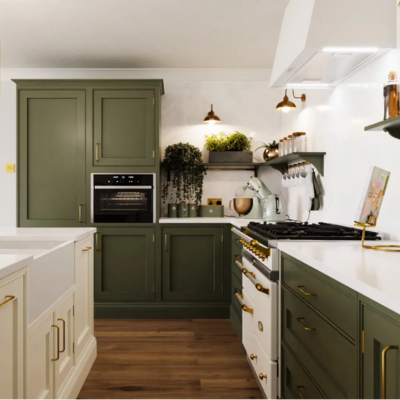

Shop for pre-loved kitchens with Rehome!
Now that you know how to upcycle kitchen worktops, why not give it a try? Visit your local DIY shop and stock up on materials, whether for painting, tiling, or tinting! Or, if DIY isn’t your thing, Rehome can help you find a heavily reduced ex-display kitchen.
These pre-loved suites are the ultimate solution for budget-savvy renovators. Rather than spending hundreds of thousands on a brand-new kitchen, you can slash costs with second-hand cabinets from luxury brands.
Here, you’ll find beautiful Martin Moore kitchens, complete with new and refurbished Miele appliances. Or, opt for a Hacker kitchen with beautiful Bosch refrigerators included in the purchase price. With the UK’s number one Kitchen, Bedroom, Bathroom outlet, the options are unlimited.


